Often overlooked for the critical role it plays, an underlayment is a necessary component of any steep-slope or steep-pitched roofing system. The fact that steep-sloped roof coverings such as asphalt shingles, concrete roof tile as well as the many specialty products used for step-sloped roofs are merely pieces that are overlapped and not a sealed roof system. These products shed water effectively due to the steeper slope. However, when water finds its way into the smallest crevices of a roof, it doesn’t take long for damage to escalate. Regardless of how durable the roof covering material on the surface may be, it’s what’s underneath that ultimately protects the inside and structure from long-term water damage.
Whether you’re working on a residential property in a rainy climate or a commercial building that faces both extreme heat and cold, the details of a roof such as the valleys and drip edges, must be given the highest priority as most roof leaks are at the details and rarely the field of the roof. Water doesn’t always flow as predictably as we would like, and when it hits valleys or roof perimeters, a single oversight in protection can result in costly damage.
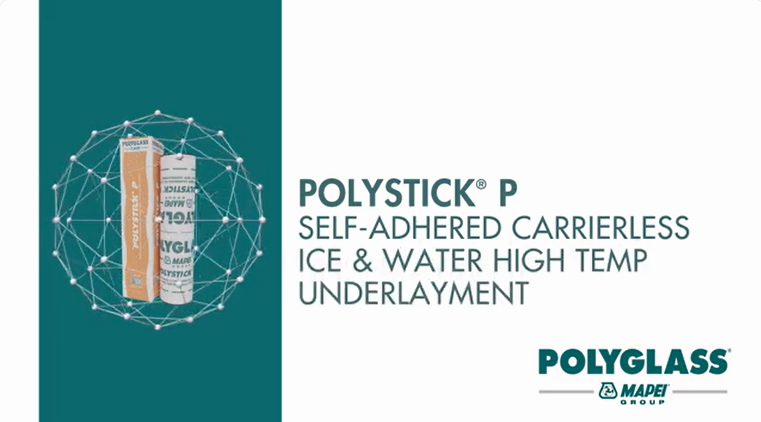
Polystick® P is a self-adhered underlayment that will hold up under the most intense weather conditions. It’s engineered to address the real-world challenges endured by steep slope installations:
- Heat transfer through metal roofing and asphalt shingles
- Wind-driven rain, ice, and snow seeping into vulnerable areas
- Freeze-thaw resulting in ice dams along roof edges
What is Polystick® P?

When you are working with various roof types, Polystick® P provides a critical extra layer of protection in areas most susceptible to damage from water or moisture migration – roof valleys, edges, and transitions.
Metal roof panels can heat up rapidly in direct sunlight, and this does not go well with traditional roof underlayments. Organic felts dry out and lose their ability to perform as a water-shedding layer when exposed to extreme temperatures. Polystick® P, with a heat-resistant compound and film surfacing, won’t deteriorate or degrade under even continuous climatic temperate changes, day to night, season to season.
In fact, for the convenience of the installer, Polystick® P exposed to the elements for up to 180 days before installing the final roofing covering should there be supply delays, keeping your roof deck and interior protected while you wait to finish the installation.
A typical roof will have various through-roof penetrations such as chimneys, skylights, mechanical ducts or exhaust vents, or valleys that are created where two different sections of the roof meet, these are especially concerning locations. Water will always find the pathway of least resistance and that is usually a small void or gap in the roof assembly. Polystick® P conforms to non-uniform shapes to fit tightly around these unusual conditions without tearing or cracking. It doesn’t leave gaps or weak spots like less flexible materials, so you never have to worry about leaks later on.
How to Install Polystick® P?
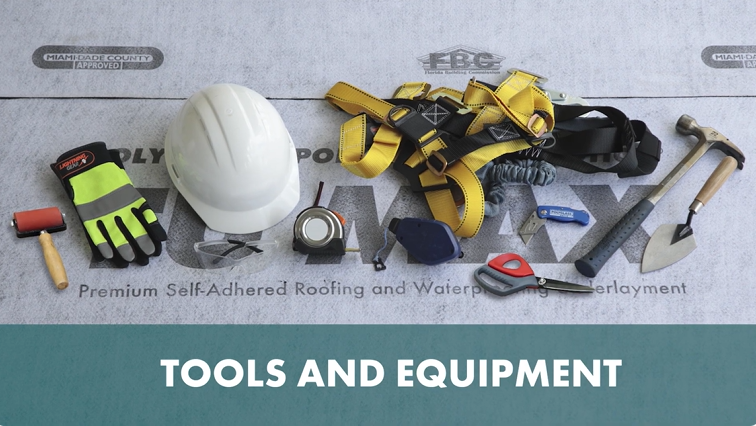
What you will need:
- Polystick® P roof underlayment (appropriate roll size for your project)
- Roofing hammer
- Utility knives (with straight blades and hook blades)
- Minimum 35-lb weighted split-faced roller
- Steel or silicone hand roller
- Tape measure
- Chalk line
- Corrosion-resistant roofing nails
- Roofing primer (optional but recommended for metal priming): PG100 ASMD 41 (asphalt primer) or WB 3000 (water-based)
- Gloves, harness, and OSHA-compliant safety gear
Drip Edge Installation with Polystick® P
Prep the Surface: Make sure the roof deck is clean, dry, and free of debris so Polystick® P bonds properly. If there is rotting wood, uneven decking, or other type of damage, repair it now.
Install the First Strip of Polystick® P: Cut a 9 to 12-inch-wide strip of Polystick® P as a water barrier to run along the perimeter of the roof (eaves and rakes). It should be wide enough to cover the edge of the roof and wrap down the front fascia and still be covered by the metal.
- Peel the backing paper in sections as you position the Polystick® P strip. Don’t remove all of it at once, because this can cause misalignment or air pockets. Start from one end and work your way across little by little, making sure the strip adheres flat and tight to the deck.
- Use a chalk line to guide your installation for straight placement.
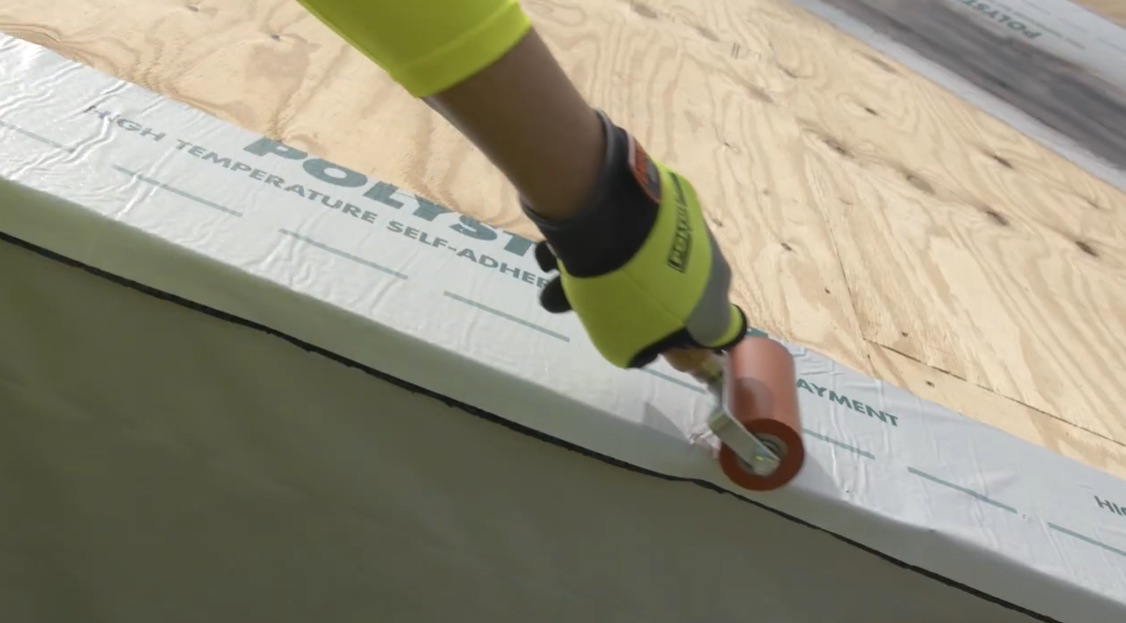
- Use a small hand roller to press the strip into place. This will prevent air bubbles or gaps that could allow water infiltration.
Install the Metal Flashing (Drip Edge): The eave drip should be placed on top of the Polystick® P strip to direct water away from the fascia and into the gutter.
- Nail the flashing into place with roofing nails every 4 inches on center in a staggered pattern or as per the local building code.
- Be careful not to overdrive the nails, to avoid distortion or warping of the metal or damage to the deck.
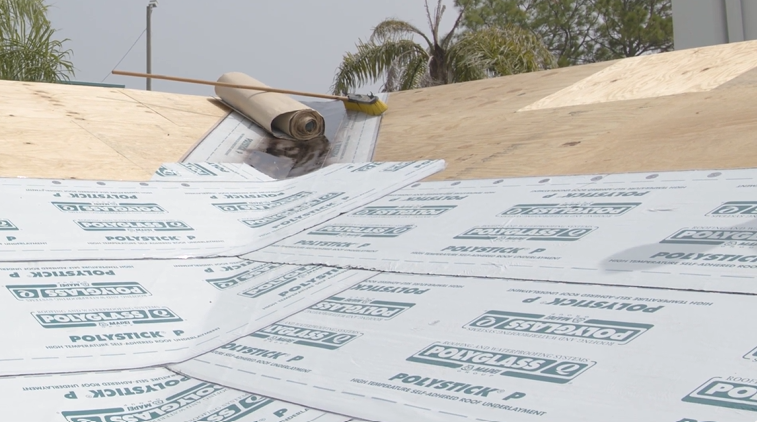
Lay the Full Field Sheet of Polystick® P: Lay down full sheets of Polystick® P to the roof deck while overlapping the drip edge. You want to create a watertight seal here by sandwiching the metal flashing between two layers of Polystick® P.
- Make sure each successive row of membrane extends over the previous sheet creating a side lap of at least 3 inches.
- Cut the sheet to length as needed and peel off the release film slowly as you position it.
- After placing the sheet, use a 35-lb weighted roller to press it firmly into place.
- Roll tightly so there is no gap between the layers, and the adhesive fully grips the surface. Should air be trapped, take a knife a puncture the membrane to release it and apply a patch to the cut area.
Prime the Edges: The edge metal must be primed with either our Polyglass PG100 or WB 3000. Though not always required, some roof decks may need primed to create a stronger bond between the substrate and Polystick® P. This is a recommended step to increase adherence if your roofing system is in a high-wind or heavy-rain area.
Roof Valley Installation with Polystick® P
Clean the Area: Clear out dust, debris, and any old construction material from the area where the two roof slopes meet. Roof junctions are high-traffic areas for water runoff, so any leftover debris could disrupt the installation process and compromise the seal.
- Sweep away leaves, twigs, dirt, and dust using a broom or stiff brush. Be thorough, especially at the very bottom of the valley where debris can collect over time. Clear all the way down to the roof deck.
- If you’re replacing an old roof or valley, use a flat pry bar or roofing shovel to lift away the old shingles, felt, or underlayment.
- If there is any leftover adhesive, tar, or stuck-on felt remnants, use a putty knife or scraper to get rid of them. You want the surface to be as smooth and clean as possible.
Install a Valley Liner Sheet of Polystick® P: We highly recommend installing a valley liner sheet to protect the metal valley flashing.
- Polystick® P adds a secondary water barrier of protection beneath the valley metal. Center the membrane in the valley and cover the entire valley transition.
- Start at the top and slowly work your way down. Peel the protective liner from the Polystick® P. Smooth it out as you go to prevent any wrinkles or air pockets.
Install the Valley Metal: Cut the metal flashing to fit the length of the roof intersection.
- The flashing should run from the top ridge or rake, all the way to the bottom of the valley. The standard valley width can vary from 16 to 24 inches, but it sometimes depends on the roof covering type and local building codes.
- Once the flashing is positioned onto the Polystick® P liner, extending past both sides, secure it by using 7/8 inch head ring-shank roofing nails of sufficient length, spaced 6 inches apart on the center. Be sure to follow local building codes if other spacing patterns are required.
Installing the Polystick® P: Primer or priming is not mandatory on wood roof decking for most applications but it is always a good idea to perform a simple adhesion test to check adhesion before you proceed with any SA underlayment.
- After installing all metal flashing and priming the surface, lay the Polystick® P to one roof plane and extend through the center of the valley approximately 12 inches past the center line of the valley.
- From the top of the roof junction, remove 12 to 18 inches of the release film and press the Polystick® P into place as you go.
- Slowly peel the remaining release film as you continue with the valley application. Apply force to ensure the membrane contacts the underlying surface and hand roller to ensure maximum contact between Polystick® P at the valley condition.
- Maintain a minimum 3-inch side lap and continue through the valley center a minimum of 12 inches. Use a roller at all overlaps.
Install the Second Side of the Valley: Two options are common when installing at valleys. One way is the carry one side through the valley a minimum of 12 inches as explained above and then the opposing face is covered and lapping onto the installed membranes a minimum of 6 inches. The second is to “weave” the valley with the underlayment on one side and then the next such as the photo shown above. Ensure all laps are blind backnailed with appropriate fasteners at a spacing not to exceed 8 inches on center.
Final Roll and Check for Air Pockets: After laying both sides of the Polystick® P, go over the entire valley area with the 35-lb weighted roller. A steeper sloped may dictate the use of a stiff bristle broom in lieu of a weighted roller to apply pressure to the membrane. Don’t overlook this step or you may end up with air pockets in the membranes which could manifest into blistering under the membrane over time.
Need help integrating Polystick® P into your new roof project for residential and commercial buildings? Polyglass’ website offers several Technical Bulletins on the subject matter to aid in applying its membranes or contact Polyglass’ technical service experts today for hands-on advice, on-site application recommendations, troubleshooting tips, or to request a demo.