One of the first questions we get every Spring is, “How do I repair silicone coating?”
It’s not unusual to find a seam or detail in the original membrane that has cracked or split over the winter, especially if it’s an older construction with cast iron waste stacks. Remember that the waste stack is cemented into the floor, and it’s not moving! A 30-degree temperature swing will cause a lot of movement where the stack penetrates the roof deck.
The first rule of repairing or recoating any silicone coating: “The only thing that sticks to silicone is silicone, and sometimes that doesn’t work!”
Whenever possible, use the same material for repairs so you can limit any unwanted product reactions. If you’re unsure, apply a small test sample to confirm adhesion.
Materials needed for a Silicone Roof coating repair
You’ll need the following materials and tools for your repair:
- PolyBrite® 90 or PolyBrite® 95
- Reinforcing fabric
- Commercial cleaner
- Wiping cloth
- Clean plastic container
- Acetone Solvent
- Scotch-Brite™ or another brand abrasive scrubber
- High-quality brushes and rollers
When local regulations allow, use PolyBrite 95 (solvent-based) to perform repairs. When using PolyBrite 90, use thin material with 10% acetone solvent to aid in chemical bonding.
Step 1. Clean, Clean, Clean!
Always clean the area before applying solvent for preparation. Silicone is an excellent material. It is flexible, chemical, and water-resistant. It’s also soft, a little tacky to the touch, and tends to pick up dirt easily. Anyone that has been on a silicone roof after a year of service will know what we are talking about.
Clean with commercially available cleaner and water first. Rinse and allow the area to dry. Be sure to also remove any loose coating by cutting back to the well-adhered coating.
Next, clean the repair area with solvent and a clean cloth. Let the solvent flash off. Only use first-grade Acetone or Virgin Paint Thinner (VMP) solvent. Avoid recycled thinner, which has more water and impurities.

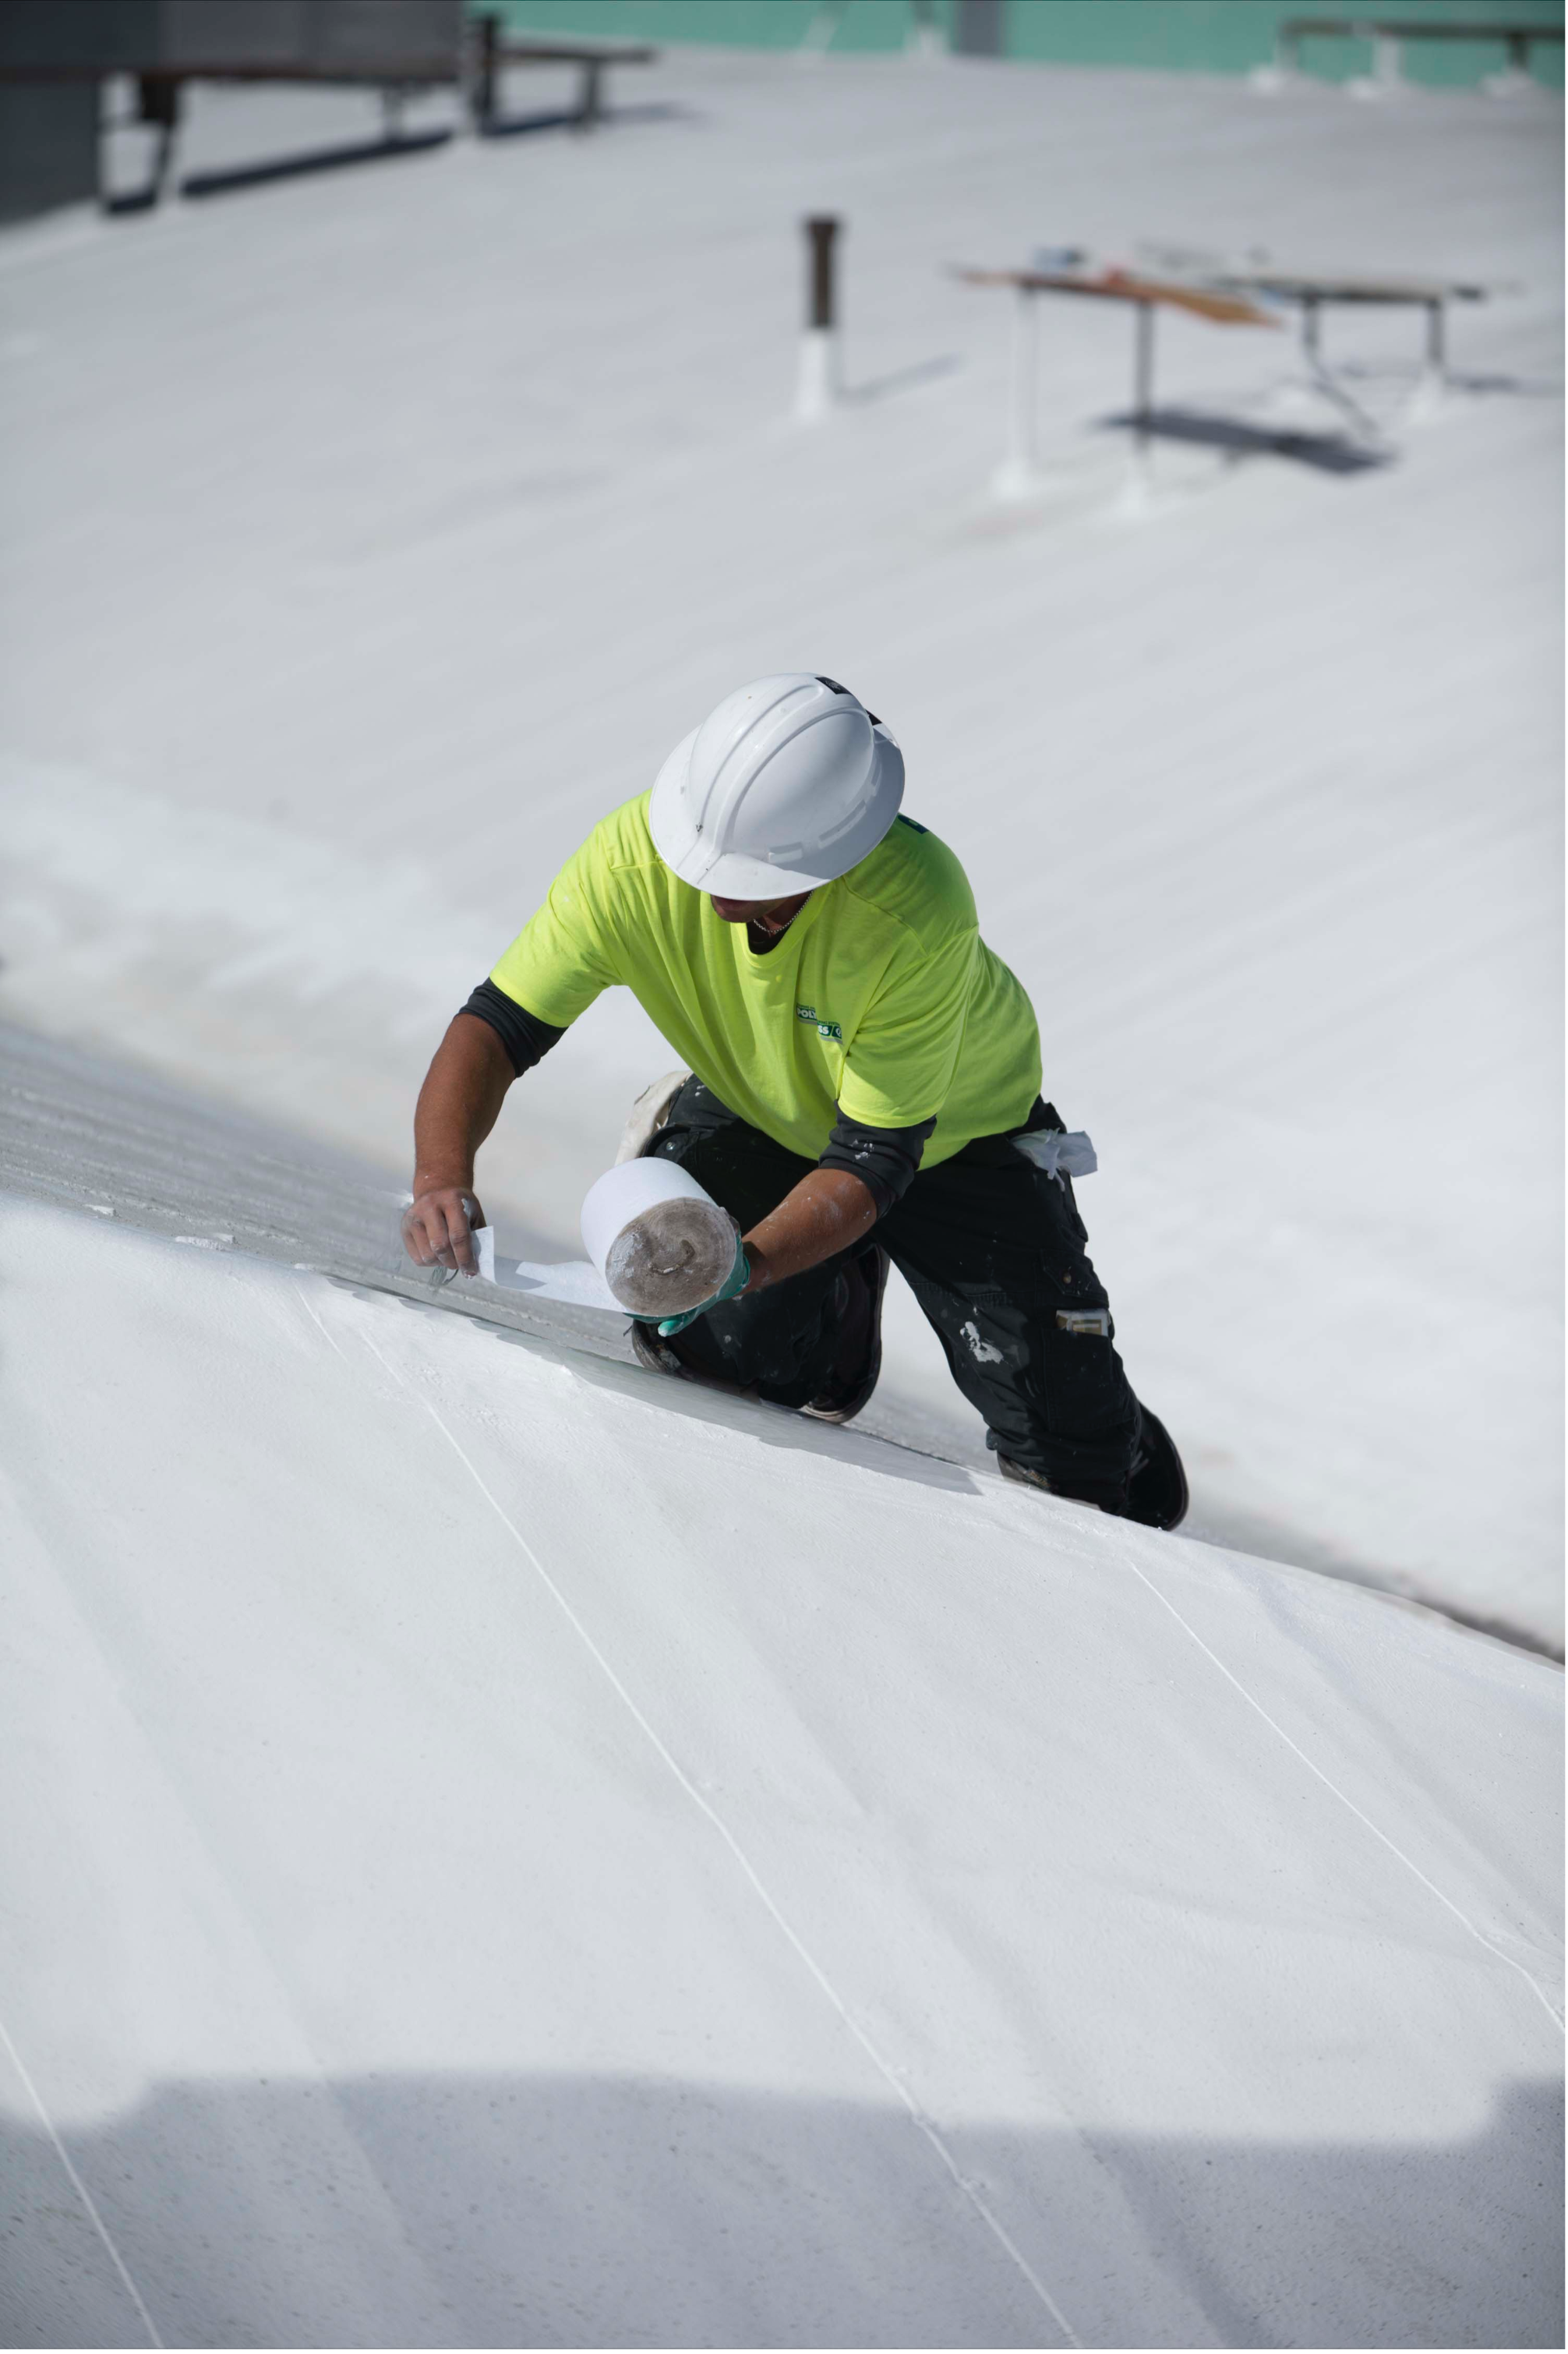
Step 2. Rough up the surrounding silicone coating
Mechanically or physically scrub the area to be repaired until it is rough to the touch. Use a Scotch-Brite abrasive pad to scuff the coating directly around the repair.
You should be able to feel the texture in the coating; this is especially important when using the high-solids formulation of silicone, as there is minimal solvent to aid in the chemical bonding of repair materials.
Clean the area again with solvent and wait for it to flash off or dry.
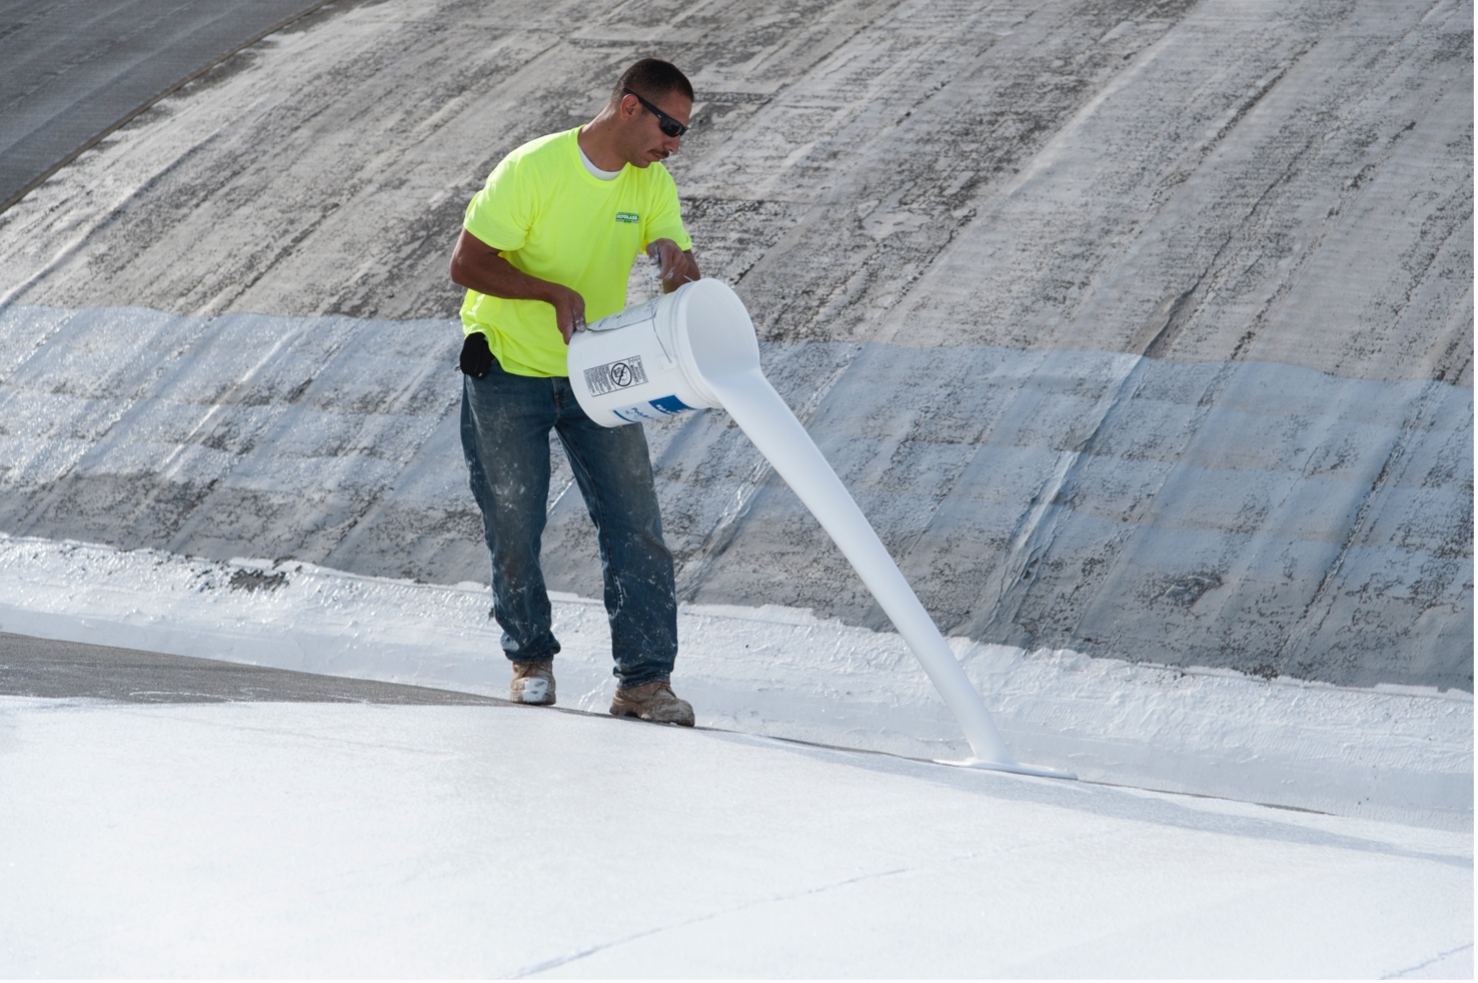
Step 3. Use enough silicone coating
One of the most common mistakes we see is not enough coating used to cover the repair area and thoroughly saturate the reinforcing fabric. Apply a 24 wet mil basecoat of silicone to the repair area; use a wet mil gauge to confirm.
It will look like a lot of coating, but that’s what’s needed to make the repair successful!
Step 4. Reinforce
Always use reinforcing fabric in repair areas and apply it while the coating is still wet. Extend the fabric 2-4″ beyond the repair area. Install the fabric over the wet base coat similarly to paper mache. Speed tips include pre-cutting reinforcing fabric pieces to size, then dipping them into a separate container of silicone coating before application.

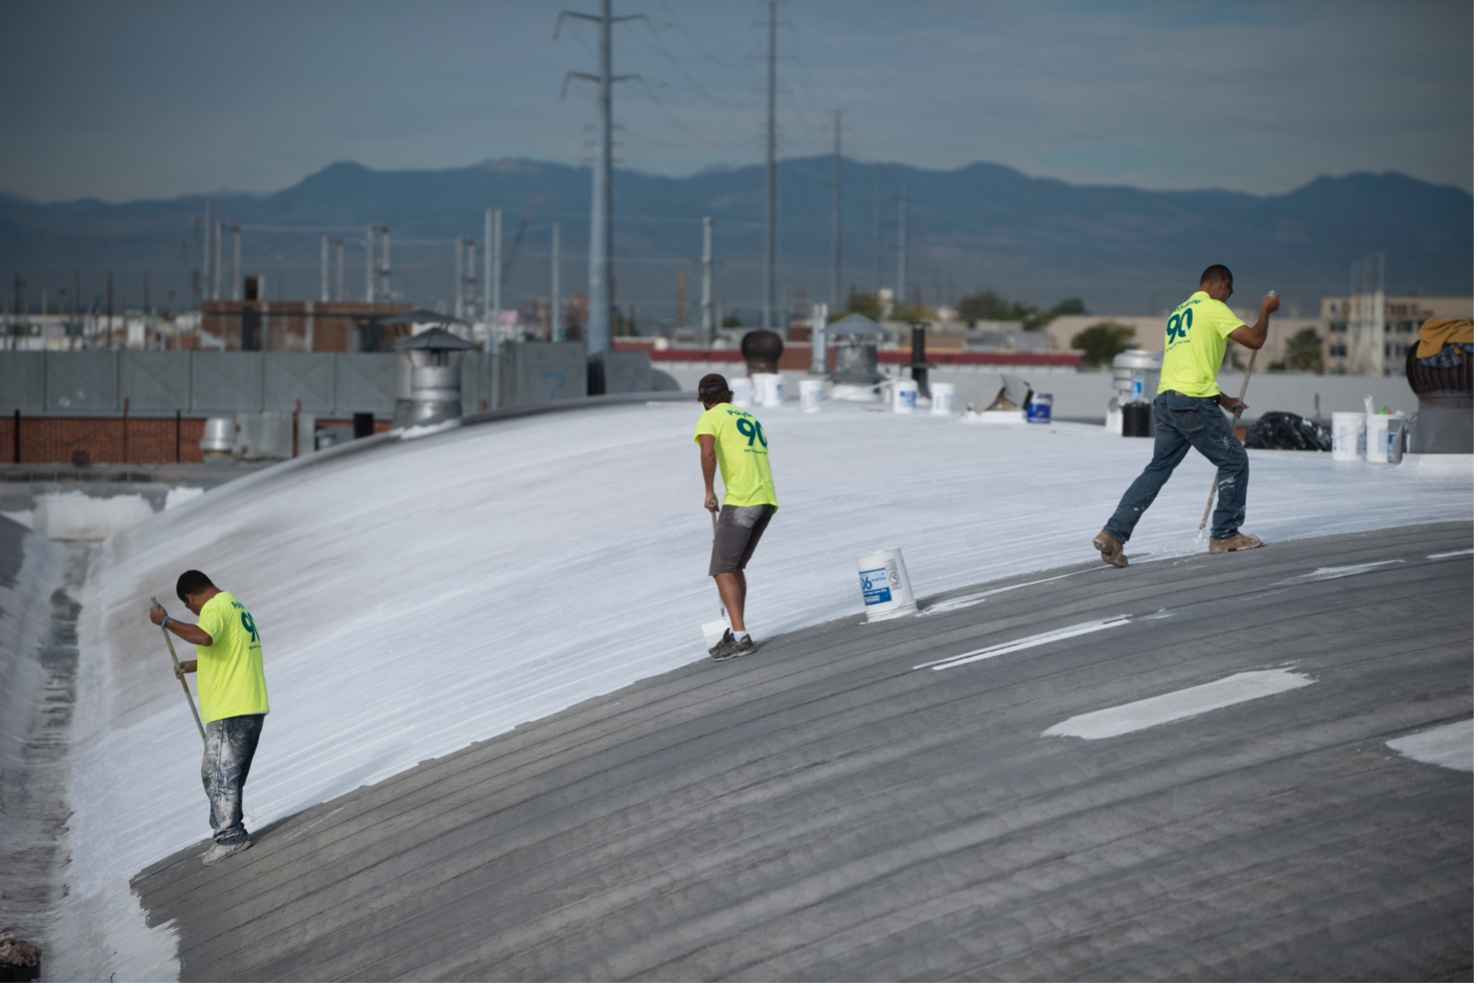
Step 5. Topcoat the repair
As soon as the fabric reinforcing is in place, apply a final coat of silicone coating at 10-16 wet mils over the reinforcing fabric, which will completely encapsulate the reinforcing fabric. It should be difficult to see the fabric’s pattern under the coating. If you can see the pattern, add a little more coating in that area.
Accessories to Use With PolyBrite 90 or PolyBrite 95
PolyBrite® 98
PolyBrite 98 is a water-based, one-part primer/bleed blocker that enhances the adhesion of Polyglass silicone roof coatings to a variety of porous and non-porous substrates.
- Versatile for a variety of substrates
- Cures to form a tack-free coating
- Low VOC
- Non-flammable
- Rain resistant after 3 hours
PolyBrite® 97X
PolyBrite 97X is a two-component, 1 to 1 ratio, water-based epoxy primer which enhances adhesion to a variety of porous and non-porous substrates
- Adheres well to most surfaces
- Excellent alkali resistance
With a bit of planning and practice, silicone roof coating repairs can be made quickly and easily. Click here for our full range of silicone roofing products or here to find a Polyglass sales representative in your state.