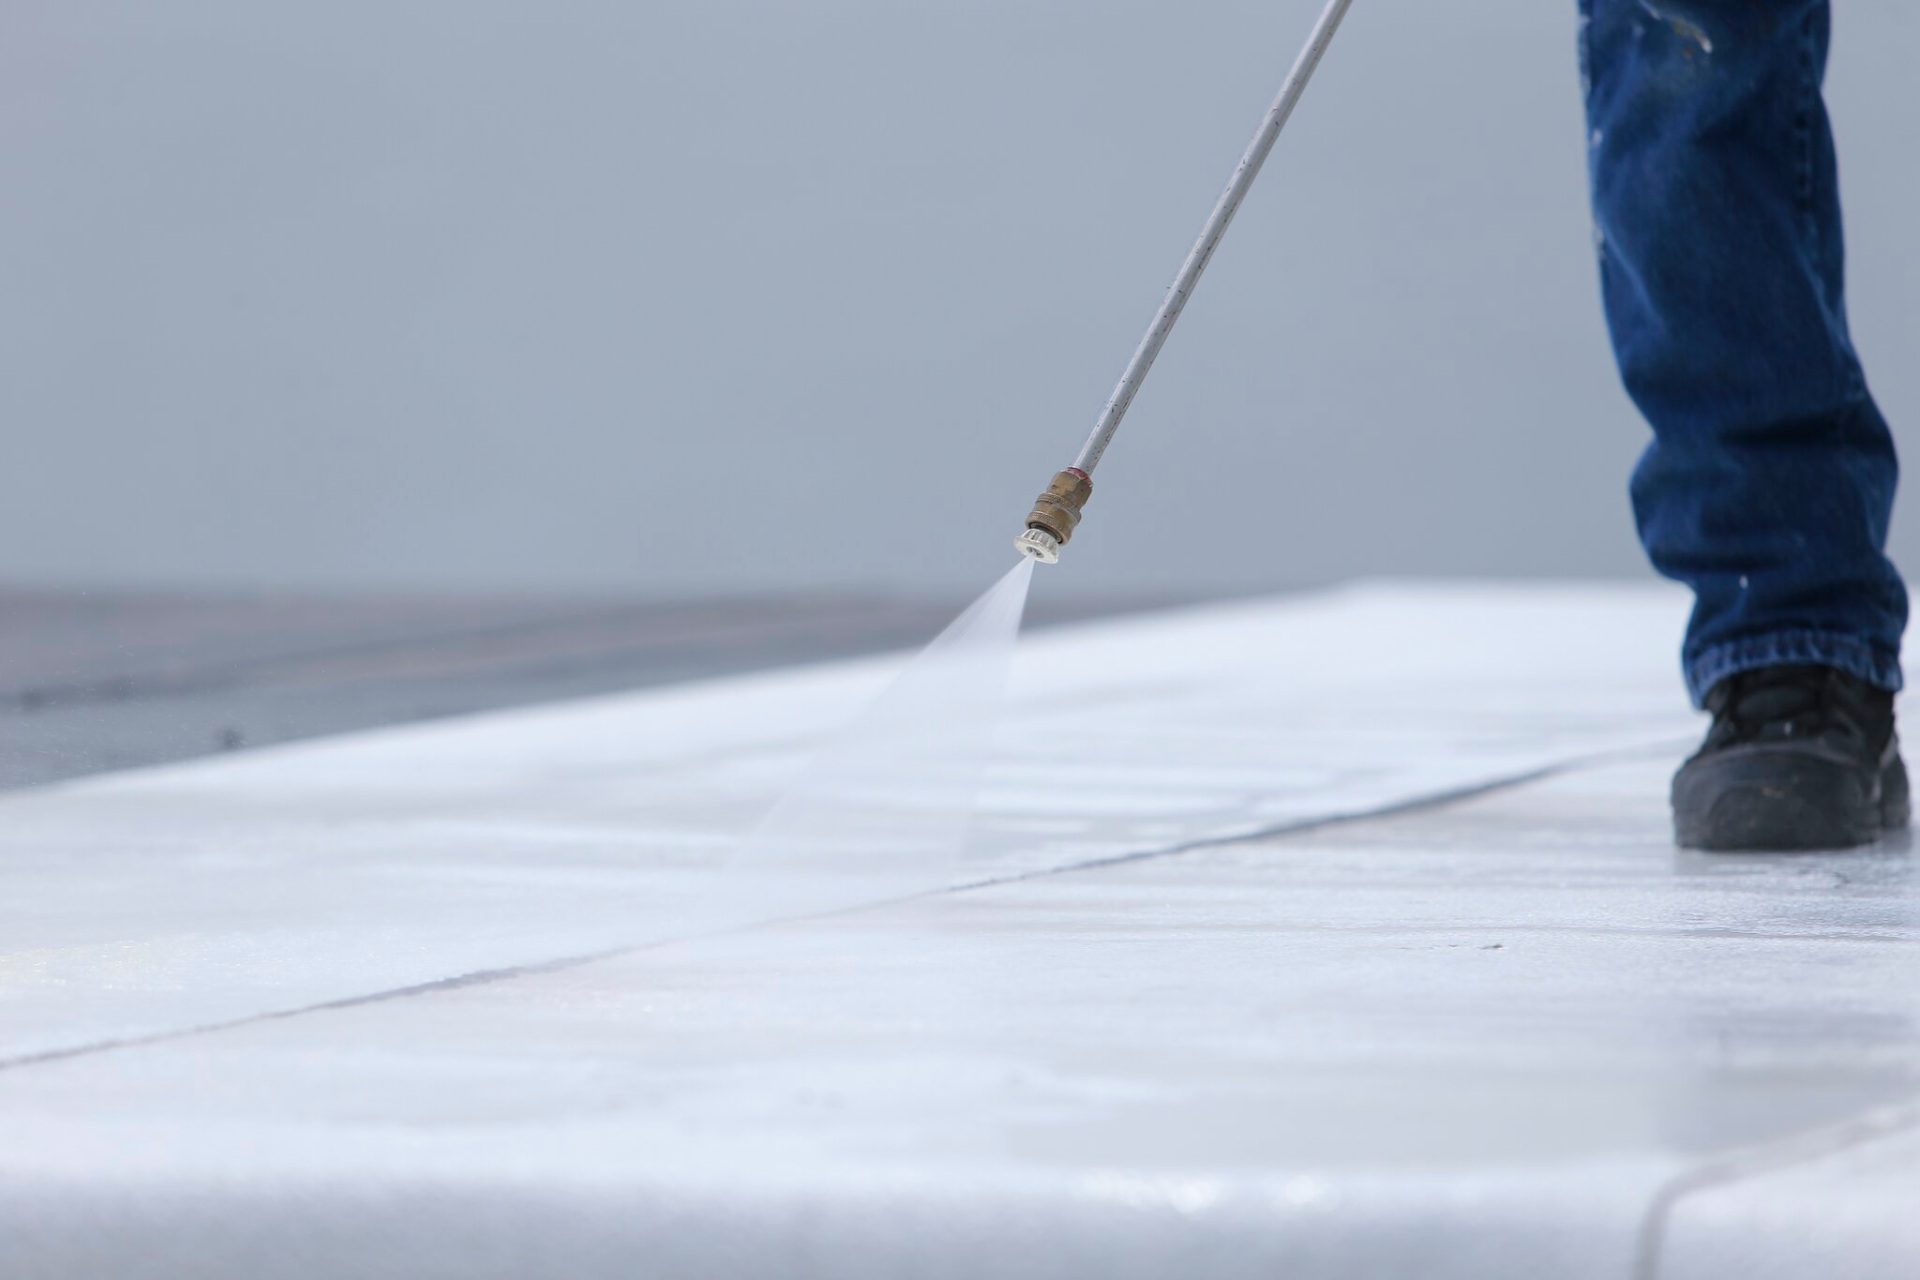
When it comes to coatings, the decision of whether to spray or not is a common conundrum. It’s a valid concern, given that spray application is often the quickest and most efficient way to get your coating material from a pail or drum up onto the roof. However, it’s essential to understand the intricacies and nuances of spray application to ensure a successful outcome. In this article, we’ll dive into the key steps and considerations for mastering the art of spray application in roof coating.
Step 1: Choose the Correct Spray Equipment
The first and foremost step in spray application is selecting the right spray equipment. Different materials require specific equipment for application. For instance, specialized coatings like PolyPUF demand precise equipment tailored to their unique properties. On the other hand, products like Polybrite 70 acrylic roofing coating or 90.1 silicone roof coatings offer more flexibility, allowing the use of various airless spray pump models and manufacturers.
In most cases, you’ll need a minimum of 2500 PSI pressure and 2.5 gallons per minute (GPM) volume for our Polybrite acrylic products. High solids silicone coatings like Polybrite 90.1 require even higher pressure, ranging from 5000 to 7000 PSI and 4 GPM. Keep in mind that the airless pump’s performance can decrease by 10-20% as it transfers material from ground level to the roof. Additionally, factors like large-diameter hoses and long distances between the pump and applicator can further affect the pressure and volume of the spray gun.
One popular choice for hydraulic airless pumps is the Graco line, such as the Graco 933 for silicone and Graco 733 for acrylic-based materials. It’s important to note that gasoline motor-driven pumps are recommended, as electric motors can overheat when used for continuous spraying of multiple drums.
Step 2: Choose the Correct Tip
Selecting the right spray tip is crucial for achieving the desired coating application. Airless spray tips come with model numbers that indicate the fan pattern size and orifice size, which determines the material volume sprayed per minute. For instance, when applying our PolyBrite 70 acrylic coating, using an XD645 tip is a wise choice. The “XD” signifies extra durable tungsten steel for longer life, while “645” refers to a 12-inch wide spray pattern when the gun is held 18-24 inches from the roof surface, with an orifice size of 0.045 inches. This choice enables a smooth application, allowing you to apply a coat at 24 wet mils or 1.5 gallons per square.
Step 3: Plan the Job
Proper planning is essential to ensure a smooth spray application job. Ensure that you have access to all areas of the roof and consider equipment movement as part of your timeline. It’s easy to underestimate the time spent on moving equipment, especially since using a sprayer is intended to save time. Be prepared for over spray loss, which can vary depending on wind conditions. For instance, with winds of 5-7 MPH, you can lose 5% of your material, and this percentage increases with higher wind speeds.
To mitigate overspray issues, consider using cones as roof-top wind indicators to monitor wind speed and direction in real time. Moreover, it’s advisable to mask off any finished metal or windows, providing an extra layer of protection against overspray.
Additionally, having a well-thought-out plan for vehicles in parking lots and side streets is essential. This can include blocking off parking spaces and deploying ground wind indicators to safeguard vehicles from overspray, ultimately preventing the need for costly overspray removal services.
Step 4: Protect Adjoining Surfaces
Over spray is a reality in spray application, and it’s essential to know where it’s heading. Implement protective measures, such as using cones as wind indicators, to control wind direction, and mask off any finished metal or windows. Consider blocking off parking areas and using ground wind indicators to safeguard vehicles from over-spray. Overspray on vehicles can be easily cleaned off by an auto detail shop, but it’s best to prevent it in the first place.
Step 5: Stop and Check Your Work
Regularly stop and assess your work to ensure you’re applying the correct amount of coating. Use a “wet mil gauge” to check coating thickness and walk back along your last spray pass to verify drying and adhesion. Small adjustments to your spray technique may be necessary based on environmental conditions on-site.
By following these steps and mastering the art of spray application, you can achieve precise and efficient results while avoiding common pitfalls in the coating world.
Polyglass Elastomeric Roof Coatings
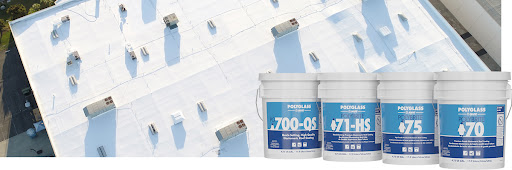
At Polyglass, we have honed our expertise in crafting top-tier elastomeric coatings that effectively tackle a wide array of roofing challenges. Our specialized coatings are adept at repairing and reviving multi-layer APP and SBS roofing systems, as well as single-ply systems and metal roofs. What’s more, our advanced white elastomeric coatings not only create a “cool roof” effect by deflecting harmful UV rays but also pave the way for substantial energy savings.
With the added protection and prolonged durability offered by Polyglass elastomeric coatings, property owners can sidestep the need for costly roof replacements. Our proficient team is poised to guide you through the product selection process and provide comprehensive solutions for all your roof design and installation inquiries. For further details, don’t hesitate to get in touch with us. Master the art of spray application and unlock the numerous advantages of incorporating Polyglass elastomeric coatings into your roofing endeavors.